NECK V2
Here is the table showing the visual differences in between the First version of the iCub neck and the updated version 2 neck (NECK V2)
 |
 |
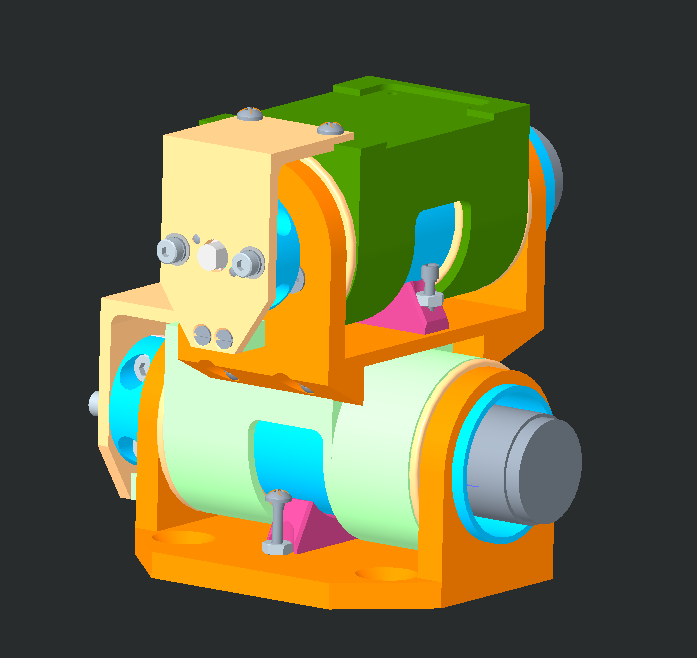
The second release of the neck has 2 tendons and two differential joints to actuate the first 2 DoFs of the neck compared to the 2 serial joints of the previous version of the neck (V1).
It makes it more robust, powerful and reliable.
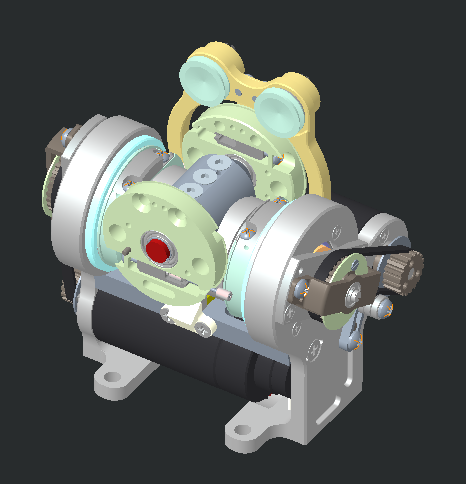
1 Mechanical assembly of the 2 tendons:
Fast Forward
If you already have a spare tendon from your maintenance kit please jump to 2
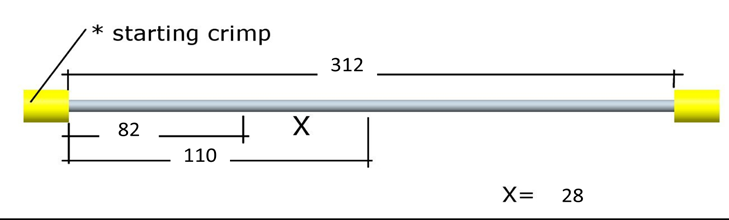
Prepare 2 cables with the components and specifics described below:
| IITCODE | Alias | Descption |
|---|---|---|
| 1001 | U0778110 | Stainless steel microcable, cable construction 7x7mm - (Coated ext 1.0 mm / core 0.81 mm) - CARL STAHL GMBH |
| 2717 | RC_IIT_010_P_064 | D ext/int = 2.4 mm/0.85 mm - length 3.5 mm -- material X5CrNiMo1712-AIS1316 |
Head CABLE “A”: IITCODE: 5965 -- Alias: RC_IIT_019_G_018.
Head CABLE “B”: IITCODE: 5964 -- Alias : RC_IIT_019_G_017.

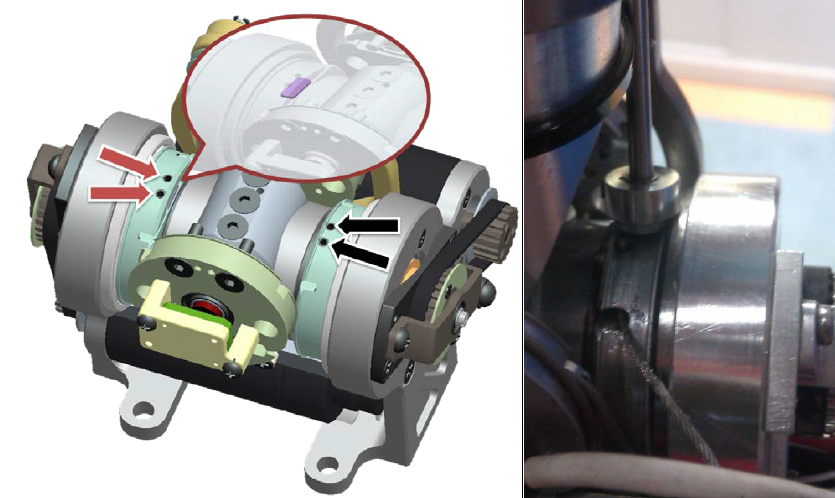
Note that the “X” marks in the picture above is the area where the Teflon coating needs to be peeled off.
All dimensions are in mm.
2 Mounting Procedure
2.1 Block version identification
| Where yields the difference | Cable Block 1 | Cable Block 2 |
|---|---|---|
 |
 |
 |
| Tightening System | 2 nut screws M2.5x2.5 + Plate | 2 screws M2x3 |
2.2 Rules of Thumb (RoT) for a Perfect START:
Blocking
Always block the cable in the peeled off Teflon section.
Positioning
The longest part of the cable should be facing toward the front of the robot and vice-versa the shortest part should be pointing toward the rear of the robot.
Releasing
Make sure that all tensioners are fully opened.
Tip
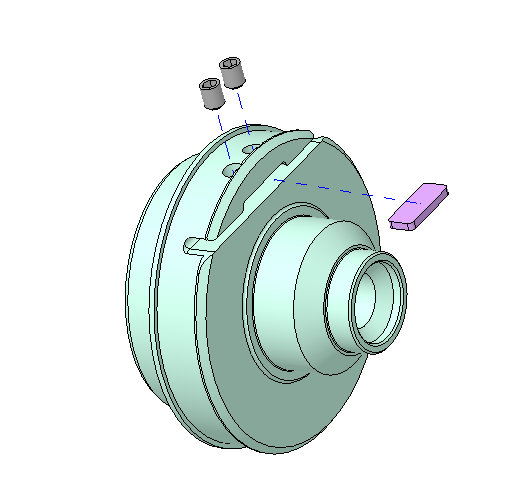
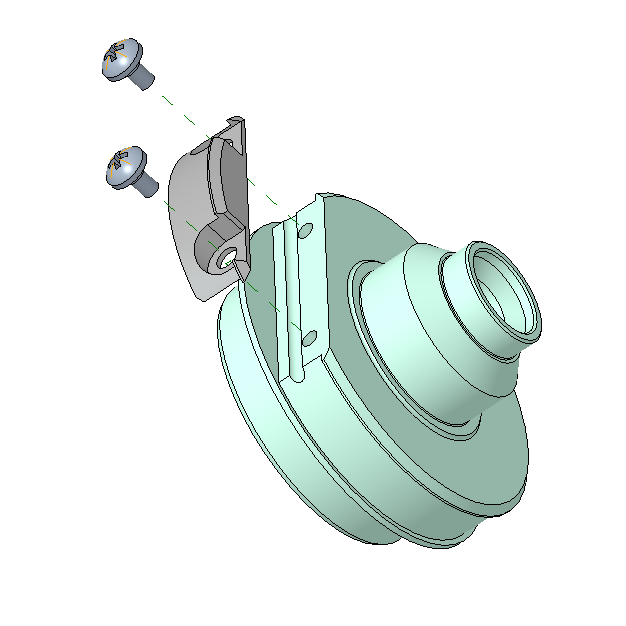
To block the cable with Cable Block 1 do the following:
1- Insert the little plate by the front of the neck and push it with any little tool in order to put it in the middle of the throat
2- Make sure the nut screws are already placed in their hole for one turn in their thread.
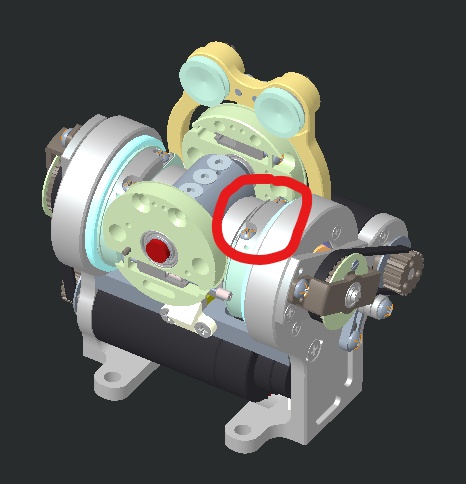
3- Use a magnet to lift it up in the excavation in the middle of the throat. (see picture below).In this way the throat is free to receive the cable.
4- Insert the cable and use the 2 nut screws (M2.5x2.5) to press the metallic plate above the cable.
5- Check that the cable firmly remains in position even if pulling the cable out.
2.3 Route Cable ”A”

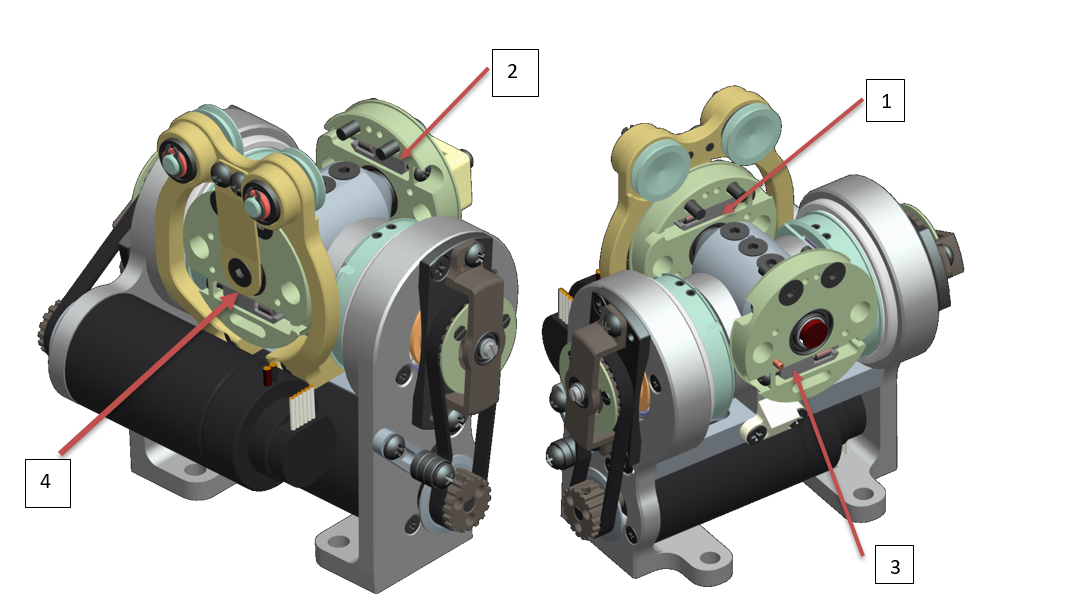
Start with the longest part of the cable which rolls around the main pulley and turn around the pulley (2) to finally rolls around pulley (3). Use pulley Y to both tense and give more slack to the cable to put the crimp the head of the crimp into the lower tensioner. once tense on side of the cable simply turn around pulley (1) the other side of the cable for a ¾ turn and finally insert the crimp onto the lower tensioner of the pulley (4).
2.4 Route Cable “B”
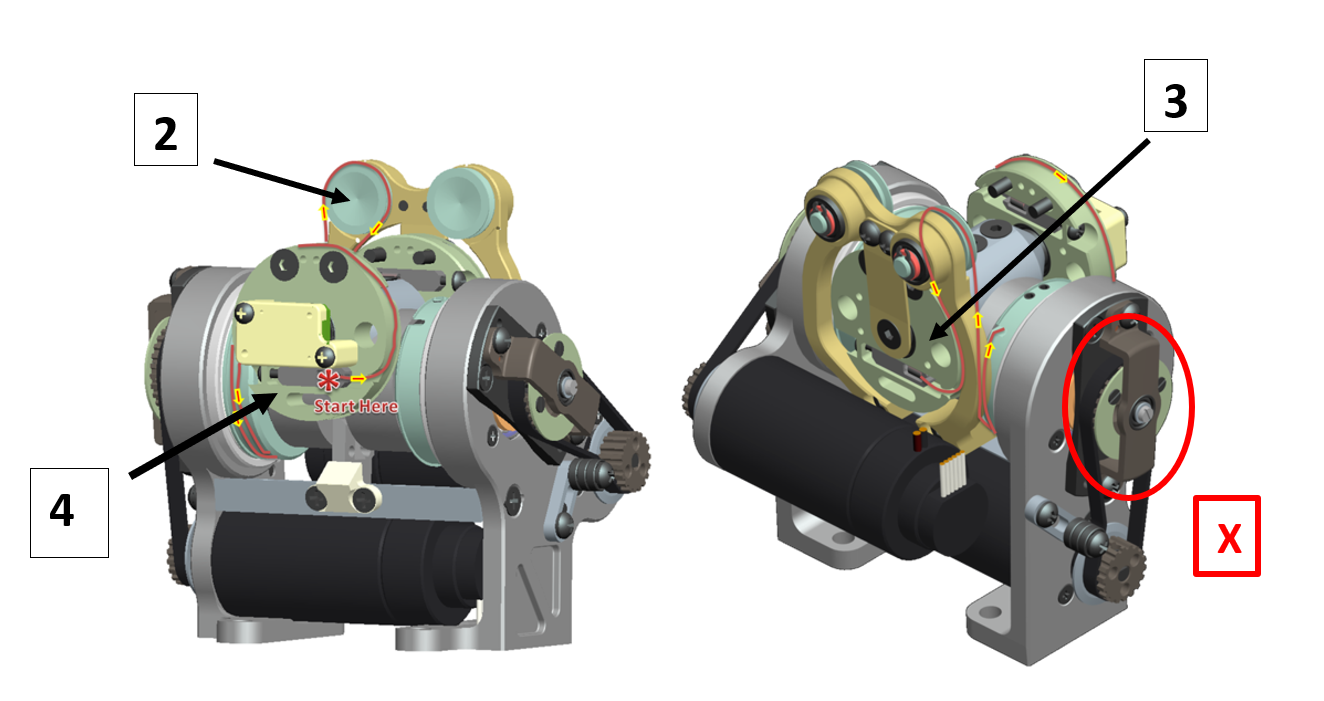
Follow the diagram above to rewire cable B in the same way as cable A but using the pulley X.
2.5 Final Tensioning
Adjust the tension of both cables with the 4 tensioners. 1 and 2 for Cable A, 3 and 4 for Cable B